Arduino Code

#include <Wire.h>
#include <Adafruit_Sensor.h>
#include <Adafruit_HMC5883_U.h>

Adafruit_HMC5883_Unified mag = Adafruit_HMC5883_Unified(12345);

void setup(void)
{
  Serial.begin(9600);
}

void loop()
{
  sensors_event_t event;
  mag.getEvent(&event);
  float heading = atan2(event.magnetic.y, event.magnetic.x);
  float declinationAngle = 0.22;
  heading += declinationAngle;
  if (heading < 0) {
    heading += 2 * PI;
  }
  if (heading > 2 * PI) {
    heading -= 2 * PI;
  }
  float headingDegrees = heading * 180 / M_PI;
  Serial.print("Heading : ");
  Serial.print(headingDegrees);
  Serial.println(" degree");
  delay(500);
}
Processing Code
import processing.serial.*;
Serial port_1;
PImage background;
PImage dial;
float heading;
float headrad;

void setup() {
  //change the 0 to a 1 or 2 etc, to match your port.
  port_1 = new Serial(this, Serial.list()[1], 9600);
  background = loadImage("bg.png");//Adding image to processing
  dial = loadImage("dial.png");//Adding image to processing
  size(600, 600);
  frameRate(29);
  port_1.bufferUntil ( '\n' );
}

void draw() {
  translate(width/2, height/2);
  image(background, 0, 0, width, height);
  imageMode(CENTER);
  headrad = map(heading, 0, 360, 0, 6.283);
  //println(headrad);
  rotate(-headrad);
  image(dial, 0, 0, width, height);
}

void serialEvent (Serial port_1)
{
  heading = float(port_1.readStringUntil('\n'));
}
Adding image to processing
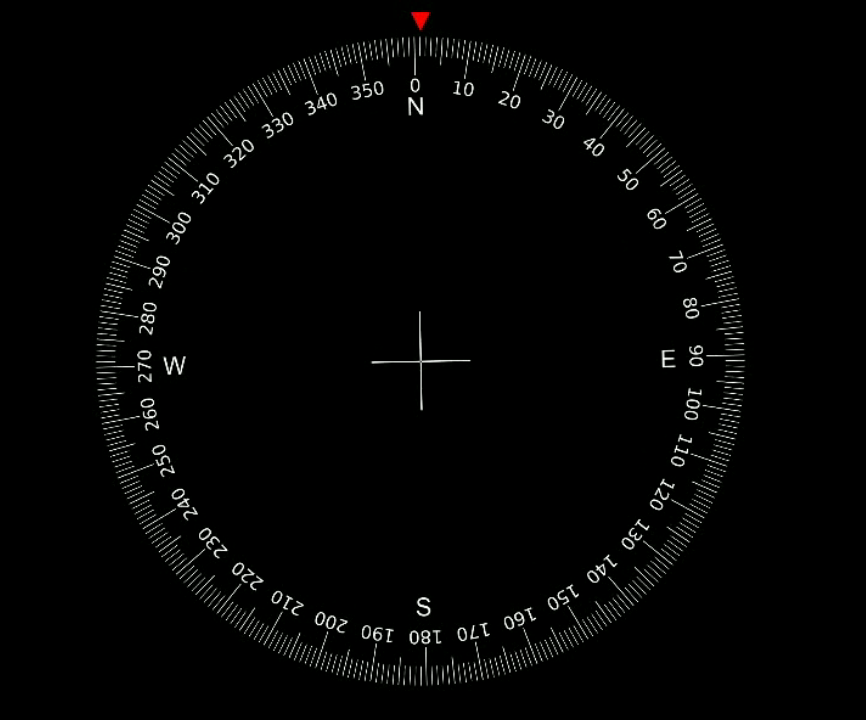
Save the images bg.png & dial.png.
Open the processing IDE, add the above code and save file. Then, open Sketch menu –> Add file–> Select & open. Open both file bg.png & dial.png. Now a folder named “data” will be created inside the sketch folder with both image files.
Or
Drag and drop the files into the sketch window.